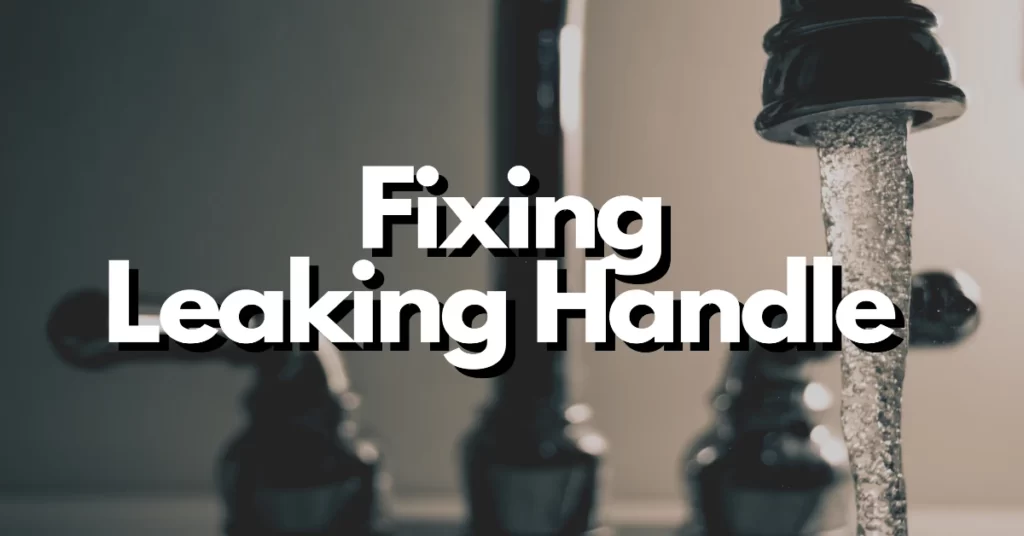
A dripping faucet can be a constant source of irritation and wasted water in your home. One of the most common reasons for a leaky faucet is a malfunctioning handle. Fortunately, you don’t need to be a plumbing expert to address this issue.
In this guide, we’ll walk you through the steps to fix a leaking faucet handle, saving you money on water bills and preventing further damage to your plumbing.
Understanding the Problem
Before you dive into fixing the leaky faucet handle, it’s essential to understand the source of the problem. A dripping faucet handle is often caused by a worn-out or damaged rubber washer or O-ring inside the faucet assembly.
Over time, these components can deteriorate, allowing water to seep through and create a persistent leak.
Tools and Materials You’ll Need
Before you begin, gather the necessary tools and materials:
- Adjustable wrench
- Phillips screwdriver
- Replacement washer or O-ring (make sure it’s compatible with your faucet)
- Plumber’s grease
- Towel or rag
- Bucket or container for catching water
Step-by-Step Guide
Turn Off the Water Supply
- Start by turning off the water supply to the faucet. You can usually find shut-off valves under the sink. Turn them clockwise to shut off the water flow. If there are no shut-off valves, you may need to turn off the main water supply to your home.
Prepare the Work Area
- Place a towel or rag in the sink to protect it from scratches and to catch any dropped parts. Position a bucket or container underneath the sink to collect any water that may drain out during the repair.
Remove the Handle
- Depending on your faucet type, you may need to remove a decorative cap to access the handle’s screw. Use a flathead screwdriver to carefully pry off the cap. Once the screw is exposed, use a Phillips screwdriver or an Allen wrench (depending on the screw type) to remove it.
- Gently pull off the faucet handle. If it’s stuck, you can use an adjustable wrench to carefully loosen it. Be cautious not to force it, as you could damage the faucet.
Access the Cartridge or Valve Assembly
- With the handle removed, you’ll see the cartridge or valve assembly. This is where the problematic washer or O-ring is located.
- Use pliers to carefully remove the retaining nut or clip securing the cartridge or valve assembly in place.
Replace the Washer or O-Ring
- Once you’ve accessed the cartridge or valve assembly, remove the old washer or O-ring. Take it to a hardware store to find an exact replacement or consult your faucet’s manual for the correct part number.
- Apply a thin layer of plumber’s grease to the new washer or O-ring to ensure a proper seal.
Reassemble the Faucet
- Carefully reinsert the cartridge or valve assembly, securing it with the retaining nut or clip.
- Slide the faucet handle back onto the assembly, making sure it’s properly aligned.
- Reattach the handle’s screw and decorative cap, if applicable.
Turn On the Water Supply
- Slowly turn the water supply back on. Check for any leaks around the handle and the base of the faucet.
Test the Faucet
- Turn the faucet on and off to ensure it operates smoothly without any leaks. If you still experience dripping, you may need to reassemble the faucet, ensuring that all components are correctly aligned.
Conclusion
Fixing a leaking faucet handle is a manageable DIY project that can save you money on water bills and prevent further damage to your plumbing. With the right tools and a bit of patience, you can successfully repair your faucet and enjoy a drip-free sink once again.
However, if you encounter any difficulties or the problem persists, don’t hesitate to contact a professional plumber for assistance.